Thursday, November 14, 2019

November Papercraft Business Challenge - To give as a gift

Hello Friends I am back with a great challenge at  Papercraft Challenges -
To Give as a gift is the theme :

I love to gibe handmade gifts so I had a hard time deciding what to make !!!
I collect Rae Dunn with a few other ladies, we were discussing what to add to our displays -
I instantly know I was making these large wooden signs for the displays!

Natalie has a Gingerbread Chrsitmas theme,
so her sign is Gingerbread!
The sign bass is 1/4" MDF 
I added fibers to the top to make it stand out.
The front of the tag is a print but I laminated it as these
displays are in our kitchens, so it needs to be cleaned.


Vanessasa display is Hot Coaoca but she loves pink,
and white fluffy!!! so I made her take to suit her!

as you can see i left the back of the tags plain.

last but not least is Kim.
Kim & I are doing a Grinch display.

Once I have my display done I will come back and add photos - 
I of course gave them their gifts already - 
Small gifts are always fun!

Please come and play along with us at 

Papercraft Business Challenge Blog

Every project entered has a chance to win this:
No photo description available.
So come play along!

Monday, October 14, 2019

October Papercraft Challenge Tags!

Hello Friends I am here to share the
 Papercraft Business Challenge
with all of you!

This month the Theme is Tags!! 
With Halloween just around the corner
and fall in full swing 
my inspiration was easy!


I used the Lawn Fawn Stamp set Happy Harvest.
I just adore this set - 
Ok, well most of their sets!!

I have an upcoming crop - so I created tags 
for all of my friends to put on a goodie bag 
that we seam to exchange every crop - it our little tradition!


 Lately I have been loving the process pictures every one posts,
 so I thought I would continue asn show you my steps top create these tags.
  
 I filled a sheet with my images making sure I had 12 of each.
I stared with the bigger ones and back filled to cover the sheet.

One they were all coloured, I used my glaze pen to dot their eyes,
I love to add as much detail and dimension as possible!
Then to the scan & Cut they go - love this step!!
Then I sort them & keep them handy for assembly!


Next I created 12 tags from 110lb card stock.
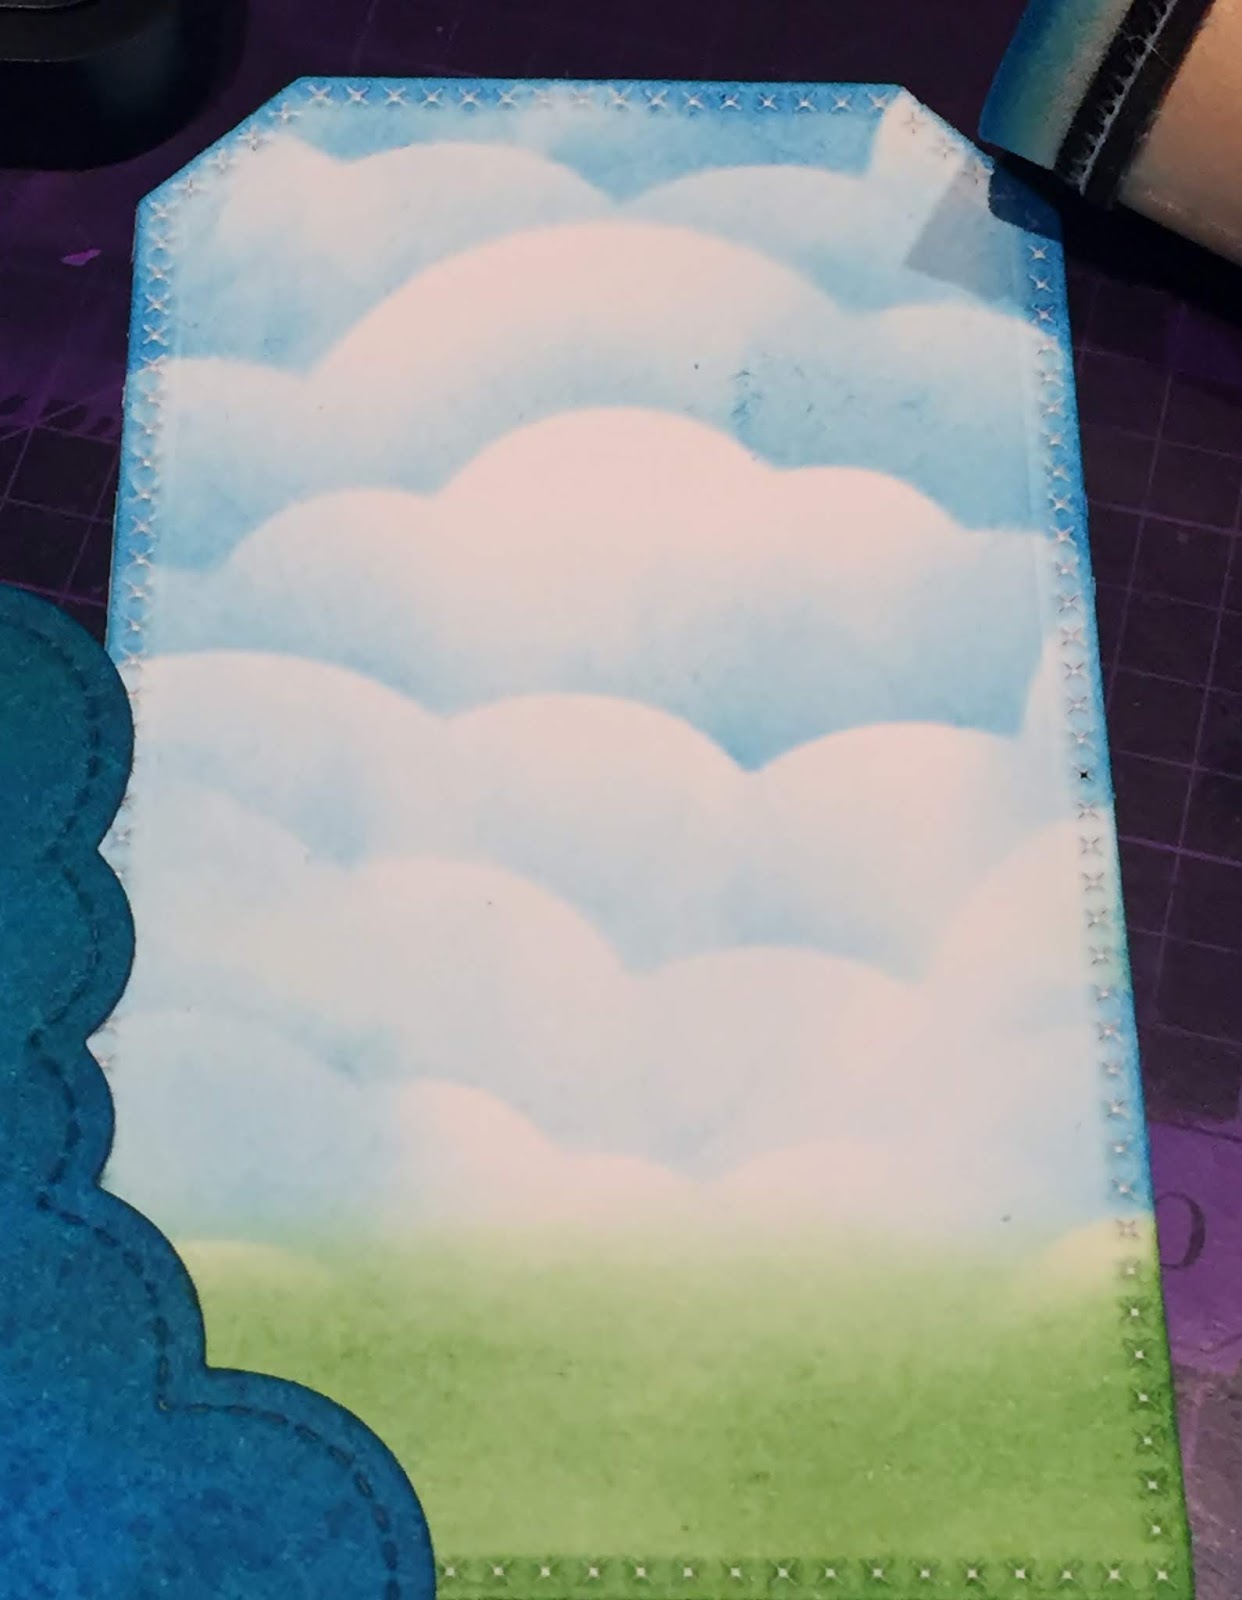
I inked the sky with my homemade template - 
I used my Lawn Fawn cloud die to create it.
Each side has different size clouds to create a more real scene.
 

Next I used the tag die to create small bottom portions that 
 I could die cut grass from & then I inked these 
portions in the same fashion as the sky.


The next step was the corn stalks - I used 2 colours to create depth.


Once that was complete I could add the grass bottom & the banner.
I popped the grass up & kept the banner flat.


 Lastly I layered my images on the tag- 
I placed my scarecrow a bit to the left, 
and started arrange the scene.  
The pumpkins have been added at varying heights 
using different foam & one is flat on the front.   


Some if my friends make cards, Some make layouts & some do 
the pocket paged - no maker what they make these will be a great addition!


Hope you enjoyed my post & have a Blessed Harvest!


You can play along with us at Papercraft Business Challenge here:

Papercraft Business Challenge Blog

You can be recognized as the top creator or selected top 5 for a badge!
you could even be the lucky winner of this :

No photo description available.

Please stop in ans play along with us!

Monday, September 30, 2019

Last of the Let's Celebrate!

This is it !!

I had to colour the candles as well! 
i just couldn't help myself!
But this is it I swear!!!!

If you are wondering what I am taking about see the last 2 posts!


Honestly i have had this set for over year 
cause i loved it but didn't really use much yet - 
then ta-da 3 sets of cards!
I adore Lawn Fawn!

I would like to enter the cards in this challenge 


Sunday, September 29, 2019

Let's Celebrate by Lawn Fawn .... round 2!

So I started with a few CAS balloons which 
directly lead to these birds!

They are too fun, too cute & too quick to make !!

Just like the last set I coloured the images 
& matched some scrap paper up with them & 
ta-da a cute little set of cards!!


If you missed the last post - I layers a die 
of all black under the image with foam dots 
to give the card a pop & a strong shadow.


The inside has this fun larger bird from an Easter Lawn Fawn Set, 
Chirpy Chirp Chirp.

here is the set all together !

I used the Lawn Fawn Let's Celebrate for these cards as well!

I would like to enter the following challenges 
you can use the link ups to come play along!


Saturday, September 28, 2019

Let's Celebrate!

Hello friends, 
I felt like colouring but didn't have a ton 
of time so I picked something simple!

I love to have coloured images so I can just sit down and create another day.
This makes creating on a busy schedule doable!

 I coloured these up one day and put them together another.
easy peasy - I love cute CAS cards but don't make them often as I love layers
and so much detail - but this honestly was so fun.

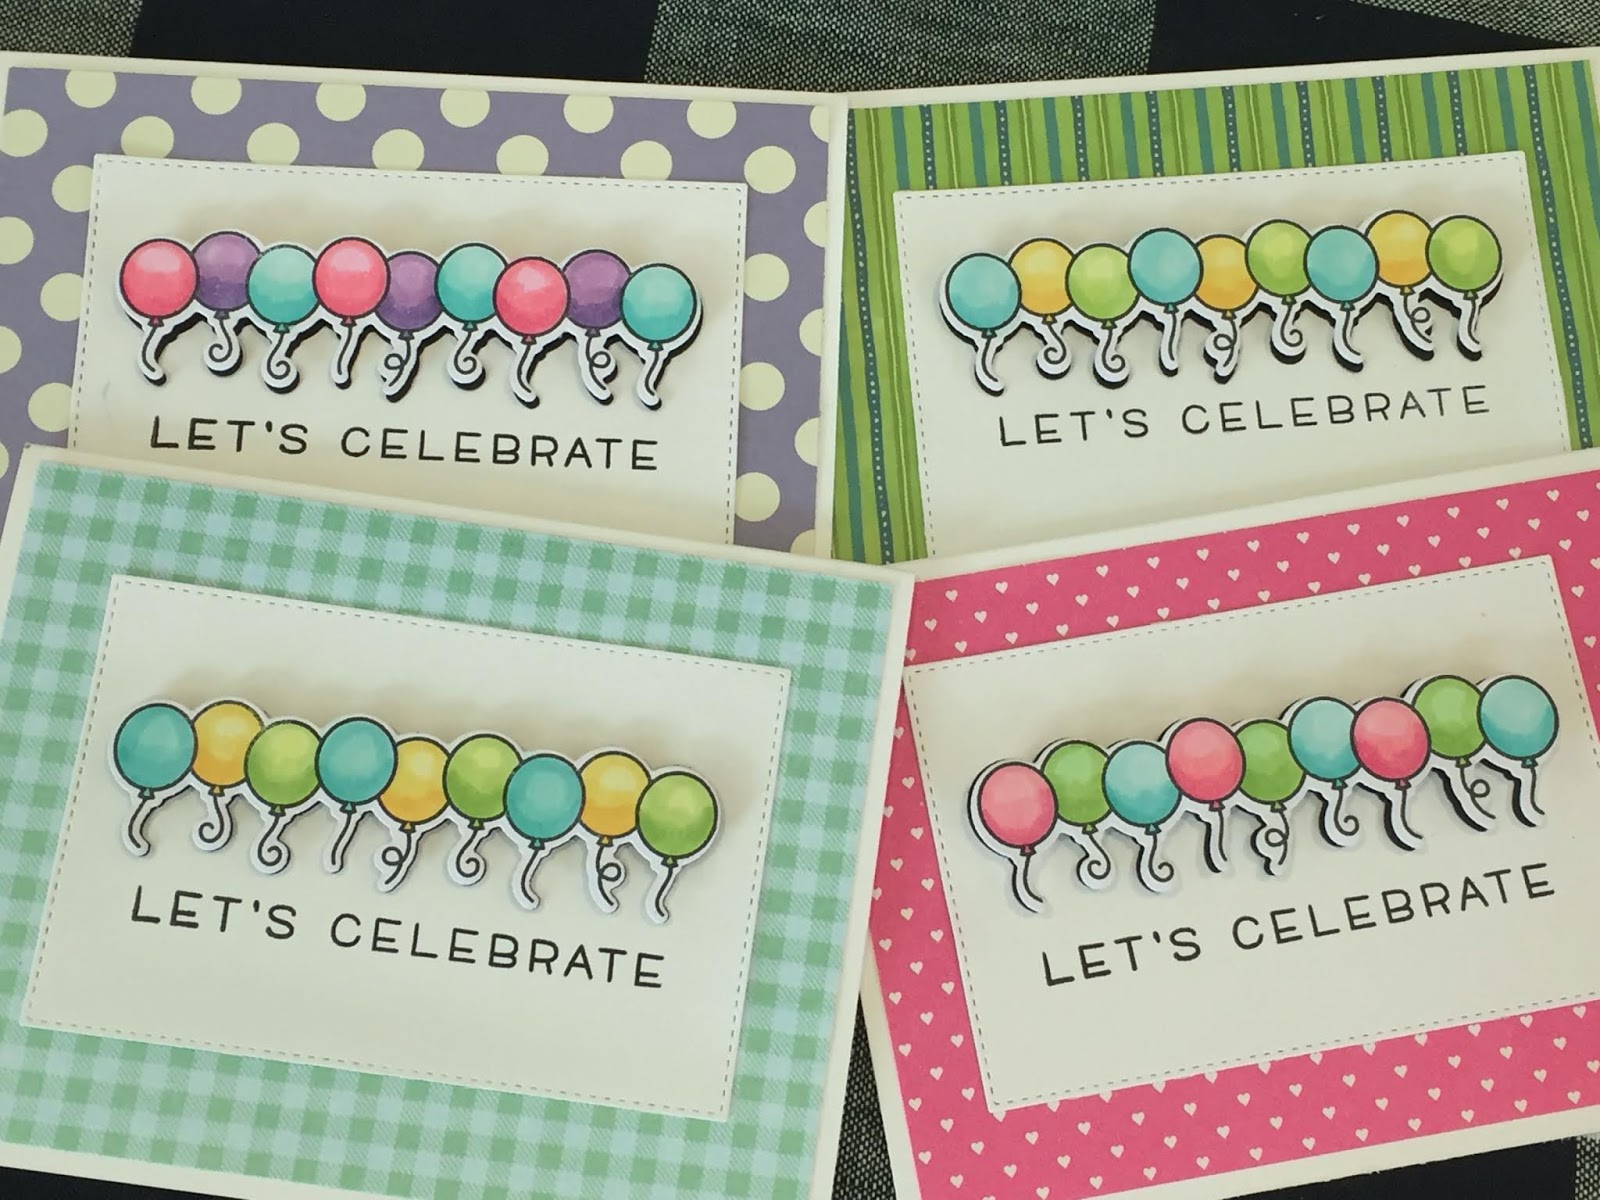
 I stamped 4 images & coloured 2 in more male colours & 
2 were coloured in more girly colours.
I had to have a little layer so i die cut the image 
in plain black and layered the coloured image
on top with foam pop dots to give a real intense shadow.

Here is pink asn hearts - sooo girly.

A toned down girly card that could be used for older recipiant.

Fun & bright blue, green & yellow!

More of a muted and relaxed - reminds me of baby colours
great for a first birthday that's coming up!

All in all this was a fun & fast set of cards - 
I can defiantly see me making these again.
This set would also be a great gift!

I used The Lawn Fawn Let's Celebrate Stamp & Die set to create these cards

Thanks so much for popping in to visit - 

I would like ot enter the following Challenges:
Please visit them & play along with me !


adding pinterest script 3. Changing the Position of the Pin it! button The cool thing about this code is that you have some freedom over where the Pinterest button for Blogger will go over the image. Take a look at the code that you just copied and pasted into the HTML for the word 'center'.